How to use Disclosures.io + DocuSign to complete PEAD forms
As a buyer agent if the Listing Agent has provided the PEAD documents in a Disclosures.io property package, you can quickly access and sign the documents using Disclosures.io and DocuSign.
How It’s Done
Step 1- Navigate to the Property Package
If the listing team has shared the package with you in your Disclosures.io account, navigate to the For Buyer’s tab and select the package.

Step 2- Check for PEAD Documents
Check to see if the documents have been provided by the listing agent. If the PEAD documents have not yet been added to the package please contact the listing team and ask them to add the PEAD forms to the property package in Disclosures.io.
Step 3- Login to DocuSign
Click the DocuSign button found above the coversheet. You will be prompted to sign into your DocuSign account before you choose which documents you would like to send. 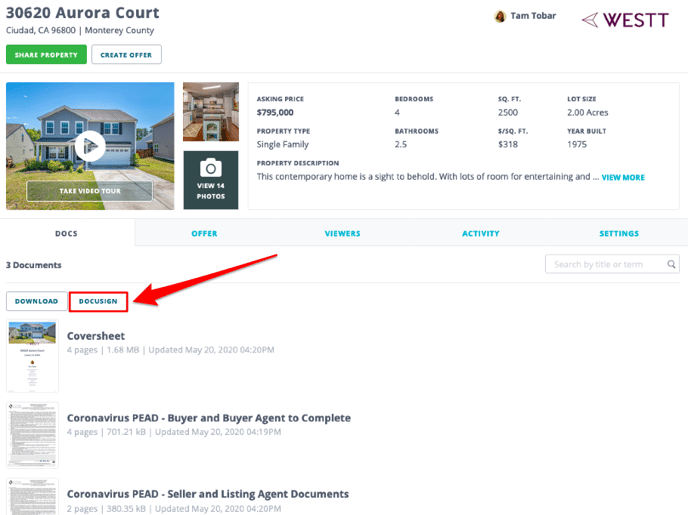
⭐ Follow the prompts to sign into your DocuSign account. 

Step 4- Indicate Recipients
Add the names and emails of the individuals who will be signing the documents. There is an “Add” option on the left side of the screen that will allow multiple emails to be added to the envelope.
To ensure that the listing agent receives a copy of the completed documents add their name and under the “Role” column change the setting to “Receives a Copy”.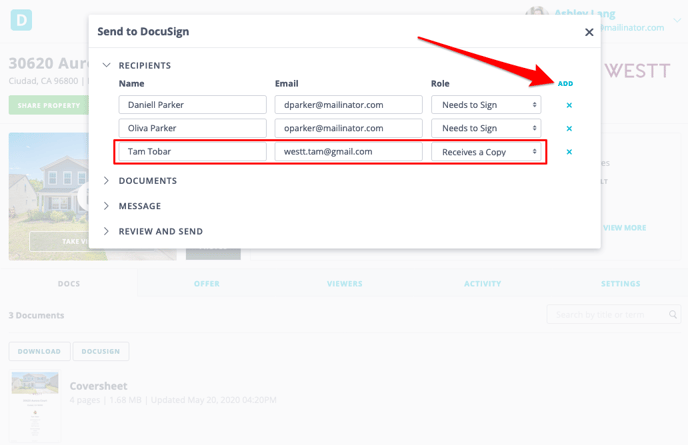
Step 5- Choose Documents to Include
Select the documents you would like to send to DocuSign. Make sure the box is checked next to any document you wish to sign.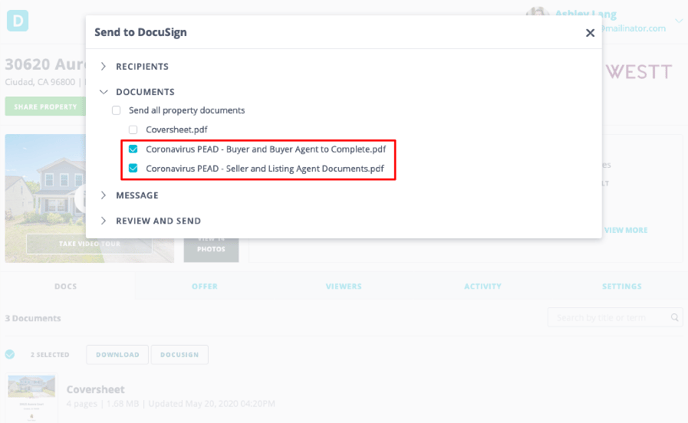
Step 6- Add a Message
Add a message to your clients, this might be a helpful place to indicate why this document needs to be signed.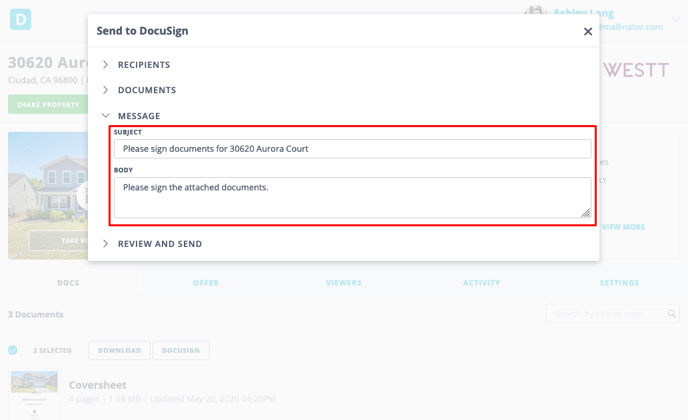
Step 7- Review
You’ll be prompted to send the documents in an envelope to DocuSign. The documents will be in the draft folder, here you’ll be able to place the signature and initial tags as needed. 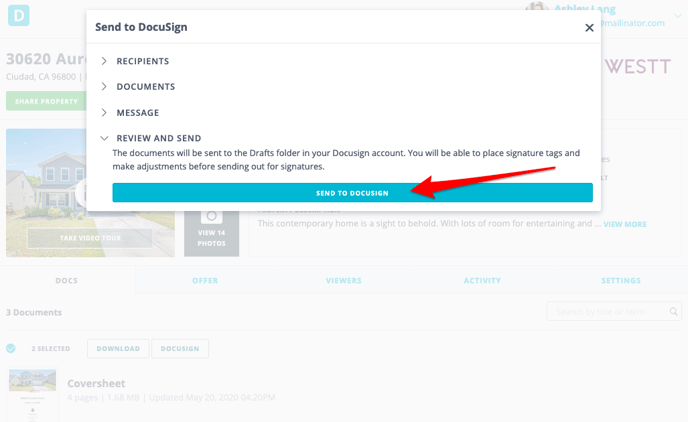
Step 8- Open DocuSign
When selecting the send to DocuSign option this will create an envelope. You will see a loading screen based on the progress.
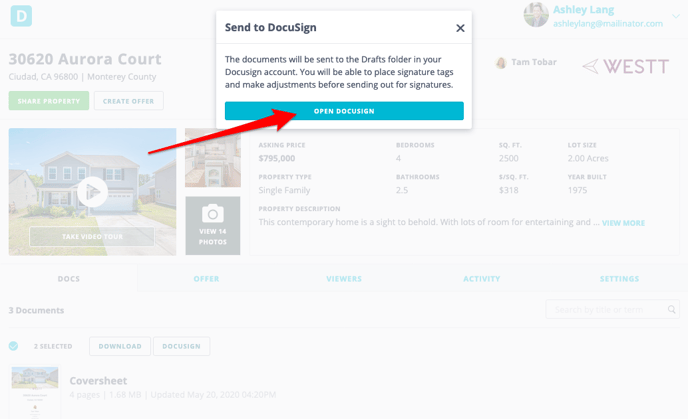
Once the envelope has been created select the option to “Open DocuSign”. This will redirect you to a DocuSign page where signature tags can be added, and the envelope can be sent for the buyer’s review and signature.
FAQ:
Q: What happens when I click Send?
- A: When you click Send, you will be redirected to your DocuSign account to finish tagging the documents for signatures. Once you send the documents to be signed from DocuSign, you will be brought back to the package on Disclosures.io.
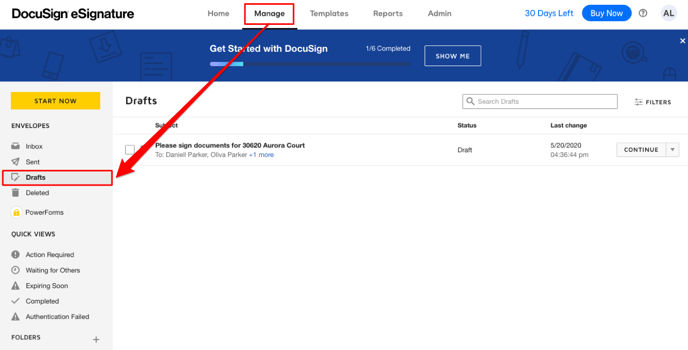
Q: Where is the envelope I started?
- A: If you started an envelope and did not finish adding the signature tags you can access your envelope by going directly to your DocuSign account. Select the manage tab at the top of your screen. Here you’ll be able to click on the Draft section and see envelopes you’ve created in the past.